This post will guide you on how to use Azure Portal to deploy the necessary infrastructure components related to virtual machine scale sets (VMSS).
The primary milestones for the whole configuration will be:
1. Create a new master VM for image prototype
2. Take snapshot from the master VM
3. Create disk from the snapshot
4. Create VM from the disk
5. Generalize VM to shared image gallery
6. Deploy VMSS from shared image gallery
7. Associate VMSS to load balancer
8. Create a new VM from image gallery for prepare VMSS image version update
9. Update VMSS image version
In this blog, I will focus on milestone #1 to #4, and will continue the remaining topics in the next post.
Let’s get started from step 1.
Step 1 – Create a new master VM for image prototype
You can visit to Azure Portal to create a either Windows or Linux base VM for the VMSS image prototype, which means you need to install all of your necessary application and done the complete configuration.
If you have already had the running VM and prepared the VMSS deployment, you can directly start from to step 2
Step 2 – Take snapshot from the master VM
Step 3 – Create disk from the snapshot
| Steps | Procedures |
| 1 | Navigate to Snapshots -> Click “Create”  |
| 2 | Following the below example configuration, please choose the OS and data disk from your existing VM as source disk option. 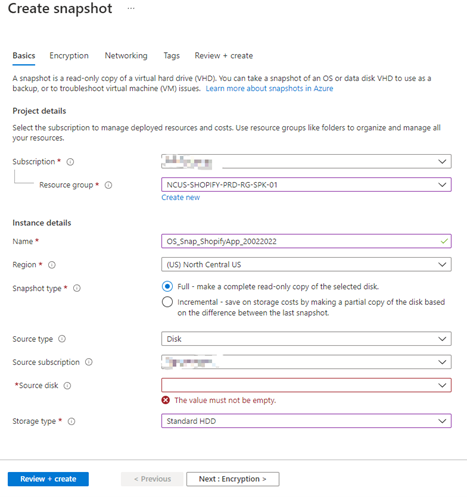 |
| 3 | Select the Source Disk which is the Disk of the Master VM 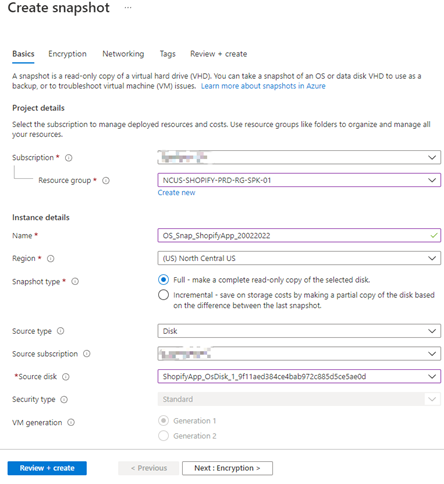 |
| 4 | Following the default setting -> click “Review + create” -> “Create” 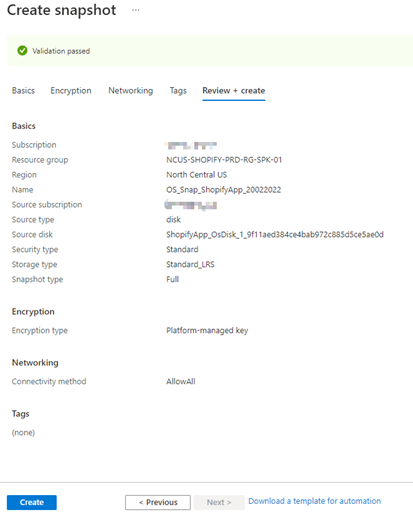 |
| Steps | Procedures |
| 1 | Navigate to Snapshots -> Select the Snapshot which has been taken in step 2  |
| 2 | Click “+Create disk”  |
| 3 | Following the setting and adjust the Size if any 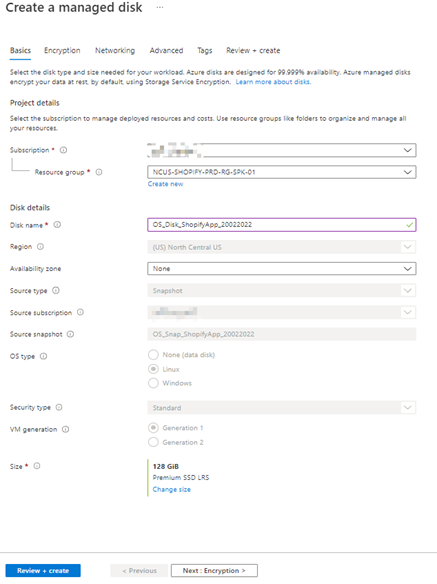 |
| 4 | Following the default setting in Encryption |
| 5 | Following the default setting in Networking, you also can specify in private endpoint option, but please make sure you allowed firewall policy to specific network. 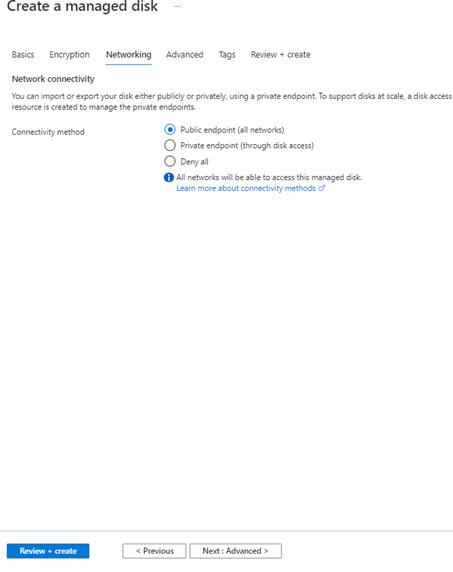 |
| 6 | Following the default setting in Advanced 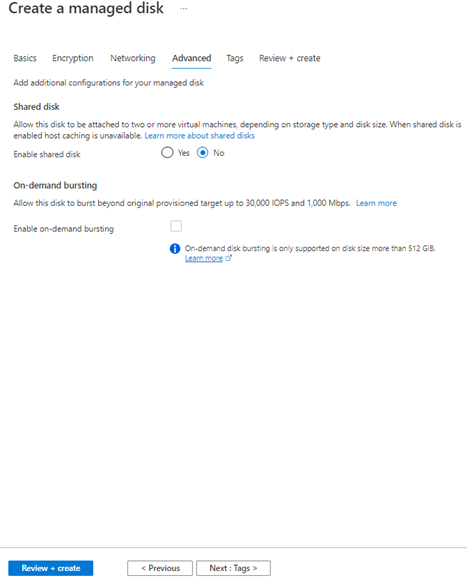 |
| 7 | Following the default setting -> click “Review + create” -> “Create” 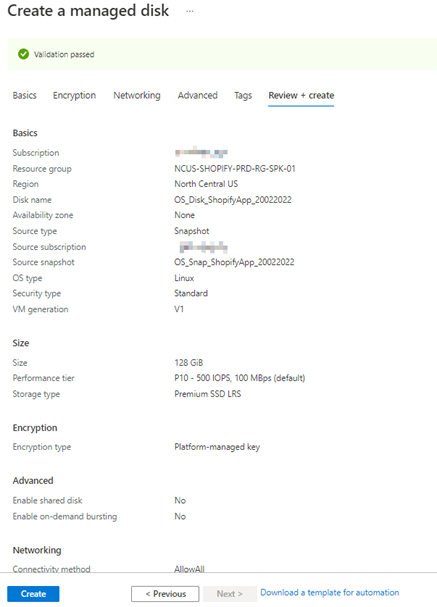 |
Step 4 – Create VM from the disk
| Steps | Procedures |
| 1 | Navigate to Disks -> Select Target Disk 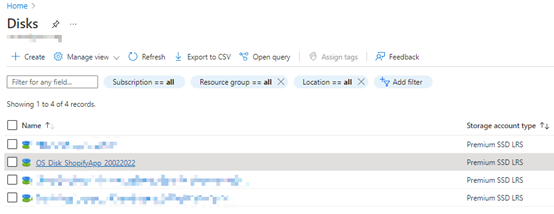 |
| 2 | Under Overview, click “Create VM” 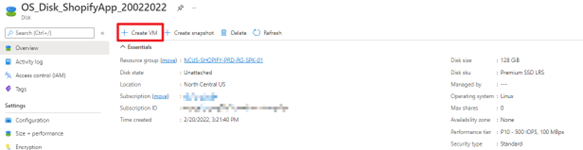 |
| 3 | Create VM with Subscription, Resource Group, VM name, then click “Next” 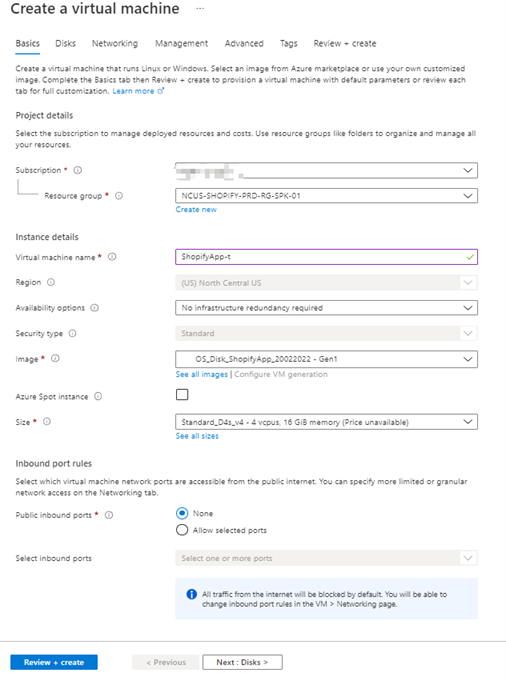 |
| 4 | Following the setting as an example 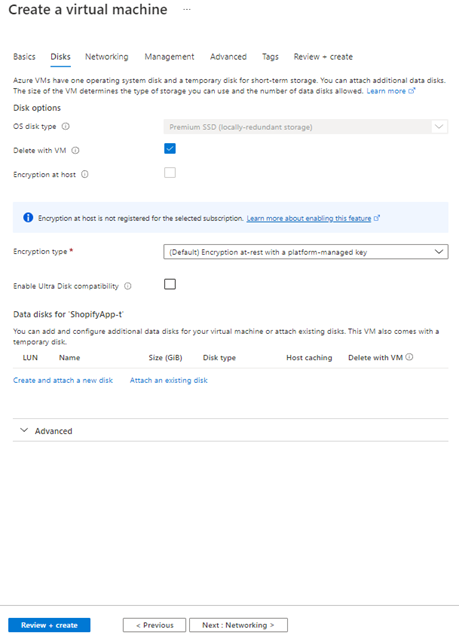 |
| 5 | Following the setting as an example 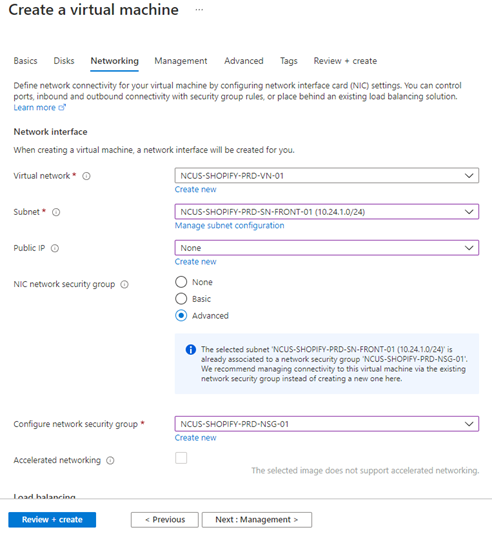 |
| 6 | Following the setting as an example 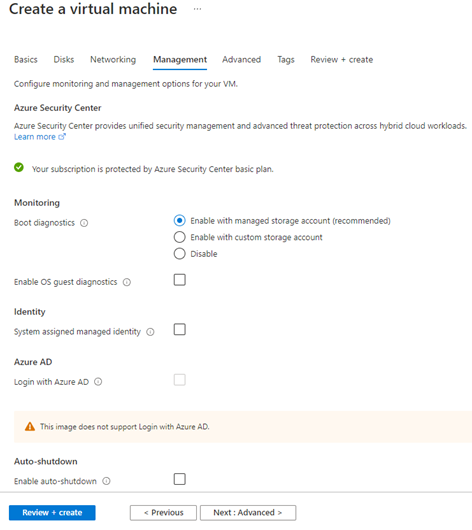 |
| 7 | Following the setting as an example 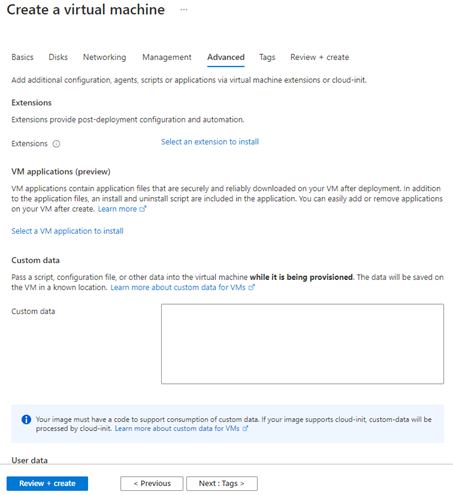 |
| 8 | Following the setting as an example, you can specify tagging for easy management 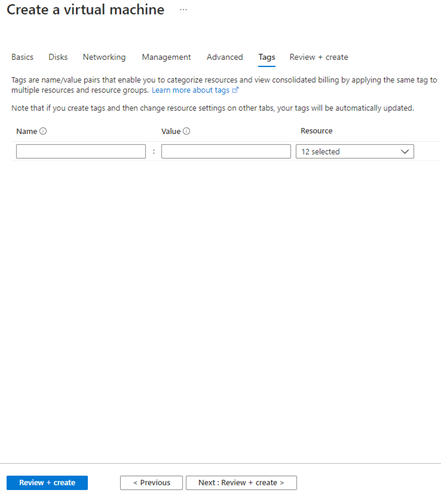 |
| 9 | Create the VM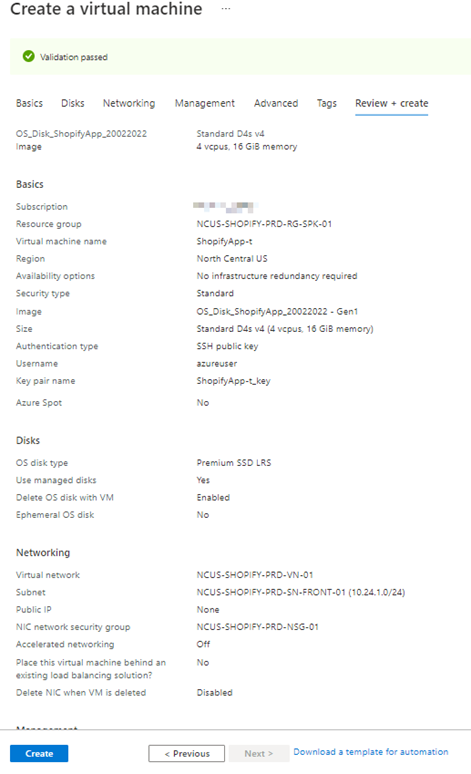 |
The above steps are part of the main procedures for VMSS infrastructure deployment in Azure Portal. I will continue the remaining steps in the next blogs.
To learn more about the service and various features, please refer to the VM Snapshot documentation.
Create an Azure snapshot of a virtual hard disk – Azure Virtual Machines | Microsoft Docs
If you are interested in exploring capabilities beyond the standard offering, please feel free to contact us at enquiry@soshk.com
Again, see you in the next blogs!
David Ko
Cloud Engineer, SOS Group Limited